Make your own AI self-portraits with Stable Diffusion
Some tips for running text-to-image models on your Apple laptop.
01 August 2023

There’s a huge amount of interest in generative AI at the moment, and a growing number of products that make it accessible to mainstream consumers.
For a while now I’ve wanted to dig deeper into text-to-image models, to better understand their capabilities and limitations. So taking inspiration from the deluge of fantastical / stylised profile pictures that hit the web a while back, I set out to get the software for AI self-portraits running locally on my MacBook Pro. It took a little bit of effort, but I learned lots from working more directly with some of the tools involved – certainly far more than I ever did from just reading about them.
This post showcases some of the images I generated, and captures a brief overview of the steps I took and some tips based on my experience thus far.
I find doing these sorts of writeups after exploring a new topic helps me to consolidate what I’ve learned. I also hope it might inspire others to have a go too (and perhaps save you some time if you’re stuck!).
The results
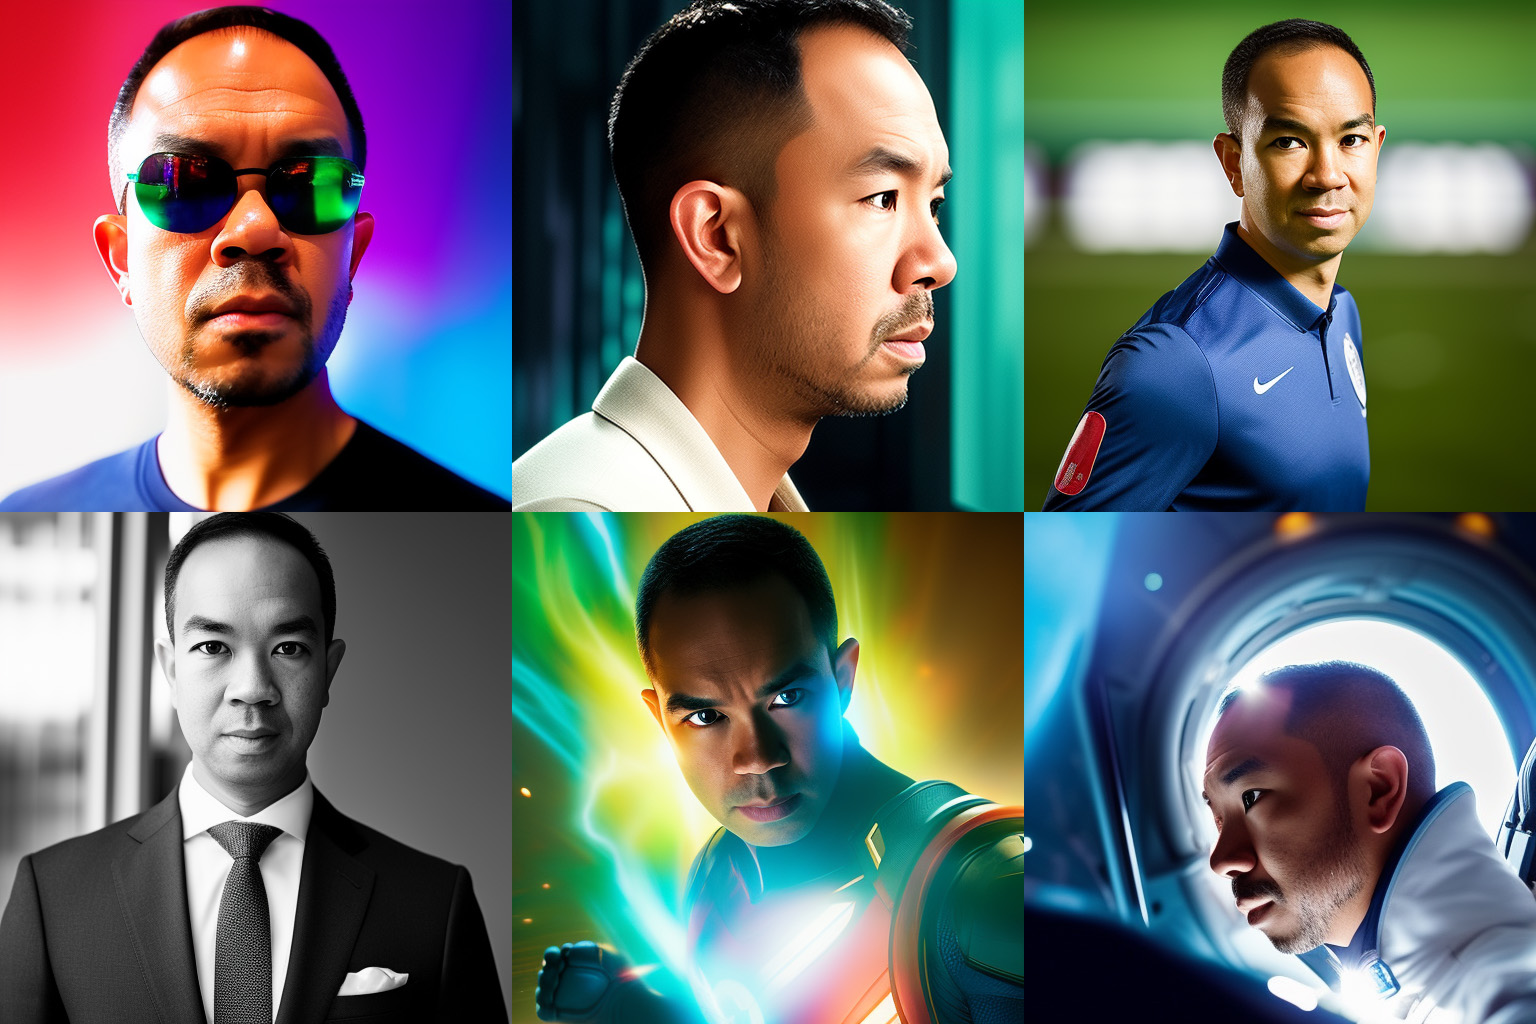
Here are some of the AI self-portraits I generated:
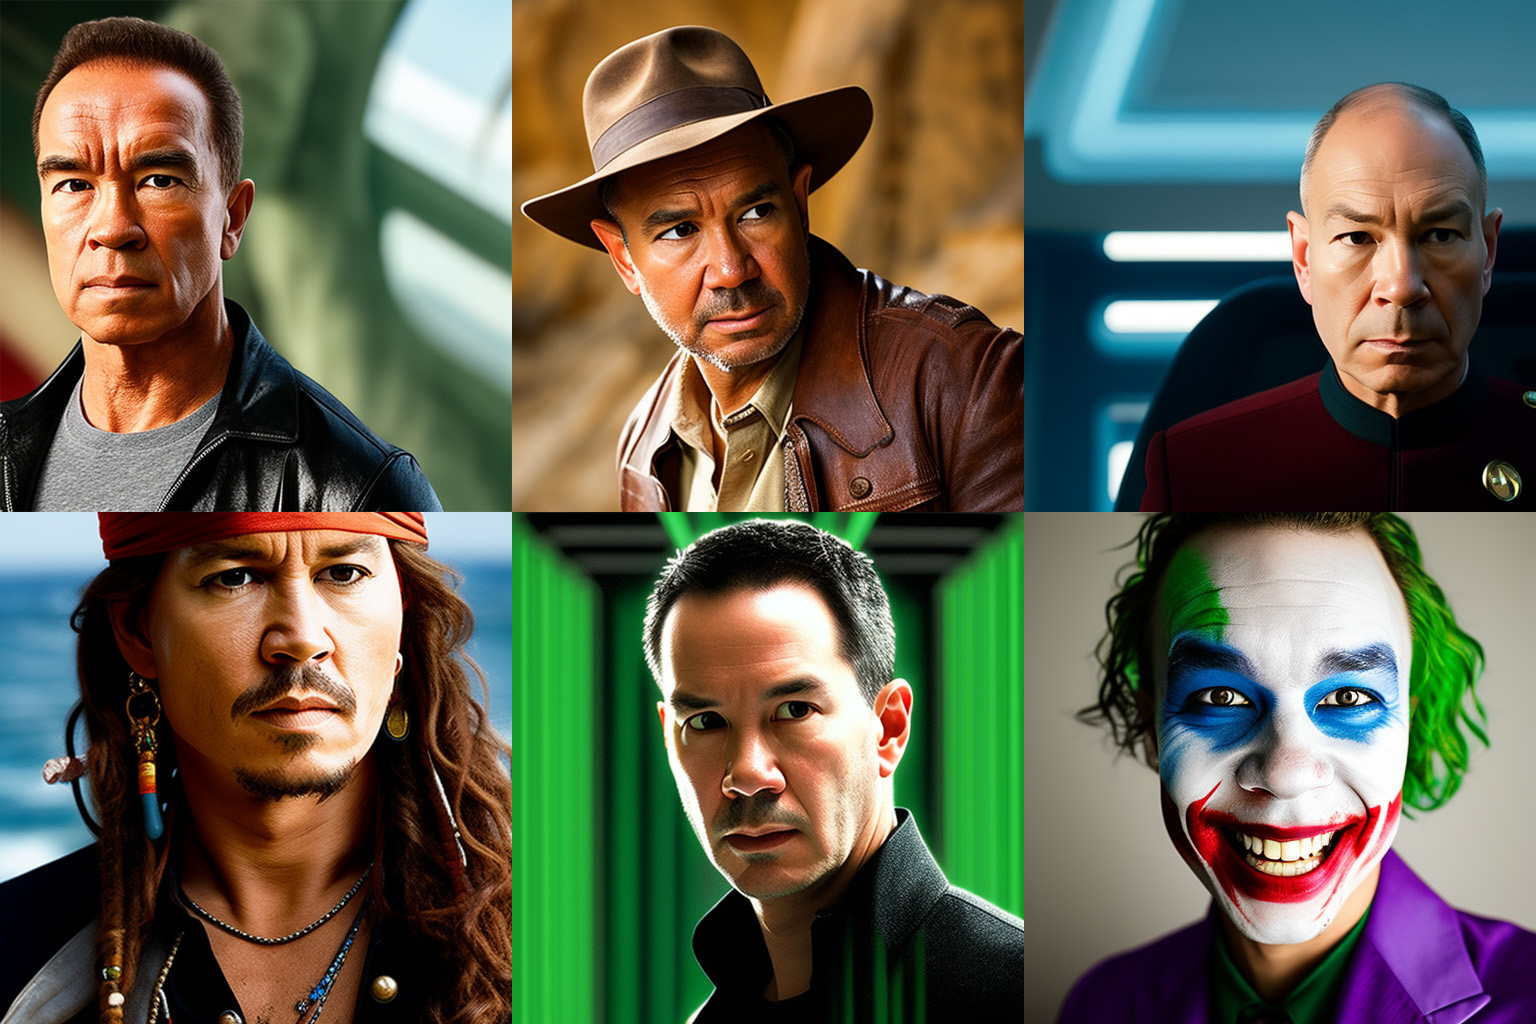
Here are some pictures of me looking like famous movie characters:
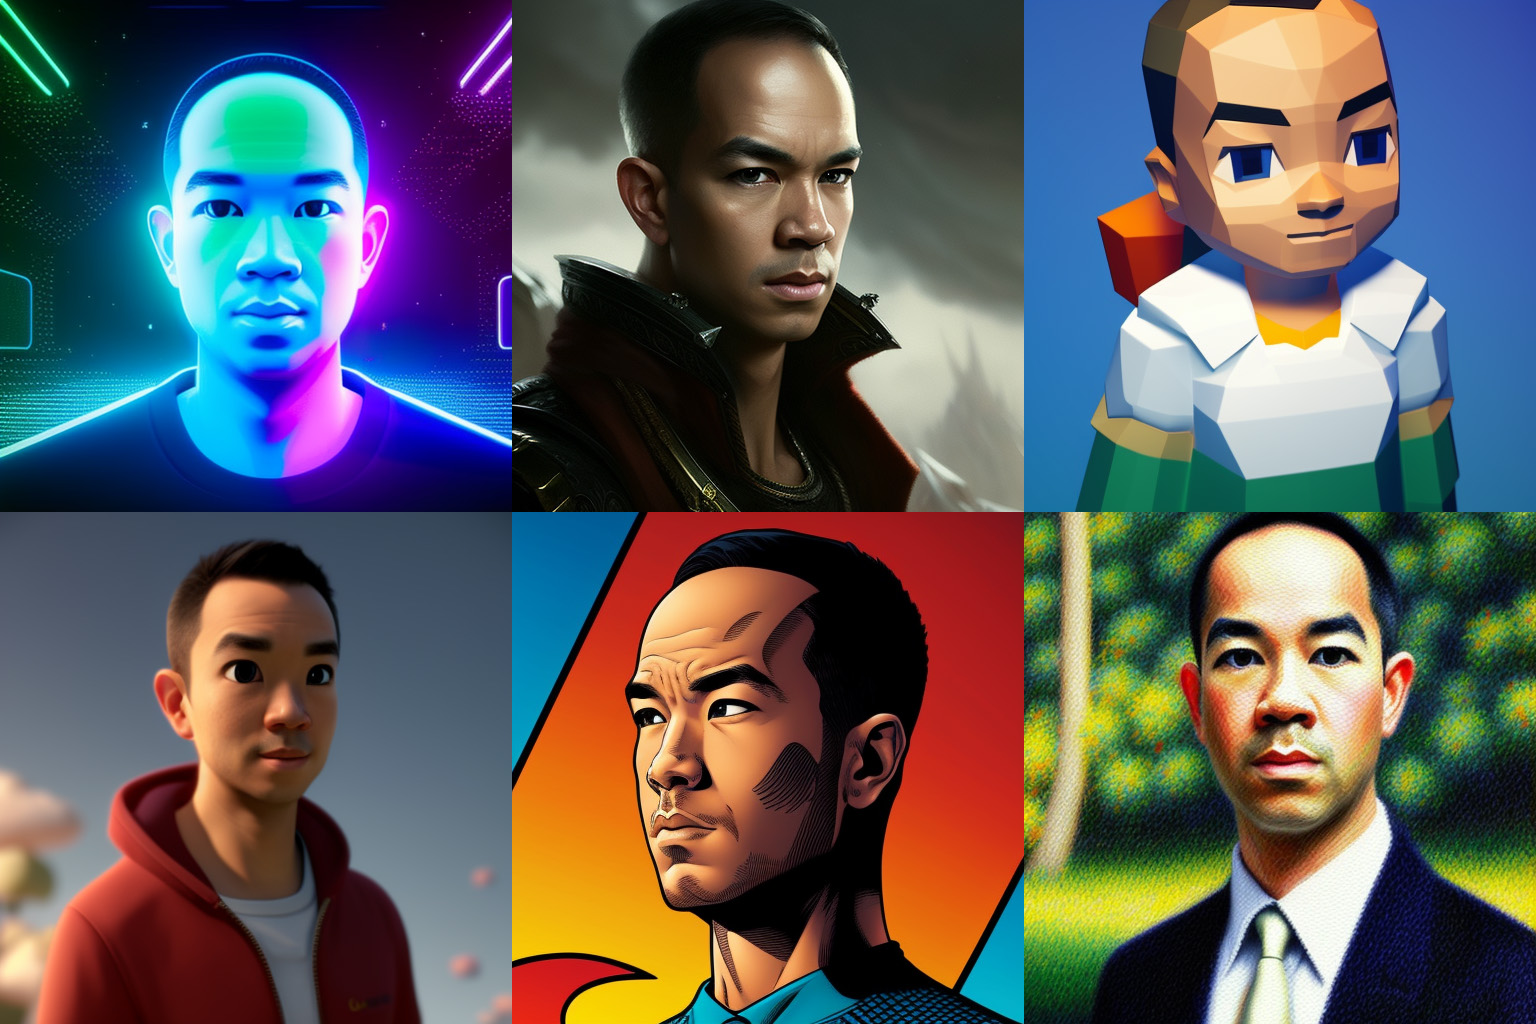
And here are a few more images in a range of different art styles:
If you’re keen to have a go at making some AI self-portraits of your own, read on!
Set up Stable Diffusion
Stable Diffusion from Stability AI is a great choice for this sort of project. You can run it locally – i.e. without offloading any of the data or computation to the cloud – and it’s open source, which means there’s a vibrant developer community around it.
I used the Web UI from AUTOMATIC1111 to work with Stable Diffusion on my MacBook Pro. Follow the installation instructions for Apple Silicon, dealing with any dependencies if / when they arise. Once that’s done, initialise the UI from the command line and point your browser at localhost:7860 to get started.
The internet is awash with advice on how to write good prompts and what the various settings / parameters do, so I won’t repeat any of that here.
Inference (the process of generating an image from a prompt) typically takes about 15-20 seconds on my laptop’s M2 Pro chip.
Fine tune with Dreambooth
Before a model can generate images that look recognisably like you it needs to be fine tuned. This is the process of teaching it your particular features, and how they differ from others in the same class of subject.
Dreambooth is a good framework for fine tuning image models, and there is an implementation for Stable Diffusion. You can install it easily enough from the extensions tab, but sadly running it on a Mac is another matter – it’s written for NVIDIA GPUs, and Apple Silicon isn’t currently supported.
At this point I briefly considered buying a gaming PC 😱 or giving up 😔.
The solution, of course, was to revisit my assumptions. Training / fine tuning is the most computationally intensive part of the generative AI process, so if you don’t have a high-performance graphics card then the cloud is the way to go.
Google Colab lets you write and execute Python in your browser, and comes with (limited) free access to GPUs. As of today the basic environments are assigned an NVIDIA Tesla T4 with 16GB of VRAM, which is sufficient for our purposes.
I used this notebook from ShivamShrirao to run Dreambooth on Google’s cloud infrastructure. You’ll need:
- An access token for Hugging Face, so you can load the v1.5 model weights for Stable Diffusion into your Colab environment
- A bunch of photos of yourself for fine-tuning the model. I found around 30 images covering a range of angles / background worked well
- A Google Drive folder to store the updated model weights and checkpoints
The photos you upload for fine tuning go into the temporary storage for your individual Colab environment and are deleted when you close the session.
Once the fine tuning process is complete you can convert the updated model weights to a checkpoint file, and download this from Google Drive to your local machine.
Get creative
Now that you have Stable Diffusion up and running, and a bespoke checkpoint file that encodes your specific likeness, it’s time to get creative.
To generate your self-portrait, you’ll need to write a prompt that invokes the unique identifier you specified during the fine-tuning process. For example, if you set instance_prompt to “a photo of xyz person” and class_prompt to “a photo of a person” then a basic prompt to produce an image of yourself would be something like:
A photo of xyz, highly detailed, sharp focus
From here on out the only limit is your imagination!
After a fair bit of experimentation, here are a few rules of thumb that work for me:
-
I’ve tended to stick with a simple sampling method (Euler) and around 25-30 sampling steps, and found this gives reasonably consistent results
-
I typically set the CFG scale to around 7.0 for straightforward photos, closer to 5.0 for blends with other people / characters, and 10-13 for art styles
-
To fix small details use the “send to inpaint” option and mask over the area you want to adjust, keeping the original prompt
-
Remember to leverage the negative prompt field – this tells Stable Diffusion what to try to avoid in the image being generated
If you give this a go I’d be super happy to chat more and would love to see some of your generative AI self-portraits! You can find me on Threads @clry2.